Integrating OWASP ZAP Scans into Selenium Tests
In today's web-driven world, robust web application security is an absolute necessity. Even minor vulnerabilities can have catastrophic consequences, leading to data breaches, financial losses, and reputational damage.
Consider a crypto trading platform: if the API for retrieving customer information lacks proper authorization, one customer could easily access details of all customers, resulting in a data breach.
As a QA professional, how can you incorporate security checks into your existing Selenium test automation scripts? This guide explores how to integrating OWASP ZAP scans into selenium, a powerful dynamic web application security scanner, with Selenium WebDriver for automated security testing within your Selenium test suite.
Why Security Automation Matters
Security should be a top priority throughout the Software Development Lifecycle (SDLC). Early detection of vulnerabilities is crucial to minimize risks and ensure a secure product launch.
However, manual security testing can be time-consuming and resource-intensive, especially for complex web applications. This is where automation comes in.
Introducing OWASP ZAP
OWASP ZAP (Zed Attack Proxy) is a free and open-source web application security scanner developed by the Open Web Application Security Project (OWASP). ZAP acts as a man-in-the-middle proxy, intercepting traffic between your browser and the web application under test. It then analyzes the intercepted traffic for vulnerabilities using various techniques such as SQL injection testing, cross-site scripting (XSS) detection, and security misconfigurations.
Benefits of Early ZAP Scan Integration
Integrating OWASP ZAP scans into Selenium tests early in the testing lifecycle offers several advantages:
Automated Vulnerability Detection: ZAP automates security checks, freeing up testers' time for analysis and remediation efforts.
Shift-Left Security: Early detection of vulnerabilities allows for faster fixes and cost savings compared to finding them later in the development cycle.
Improved Code Quality: By proactively identifying vulnerabilities, you can ensure higher code quality and a more secure application from the outset.
Step-by-Step Guide: Integrating ZAP with Selenium Tests
Now, let's dive into the practical steps for integrating OWASP ZAP scans into selenium:
1. Installing and Starting ZAP Proxy:
Download and install OWASP ZAP from the official website (https://www.zaproxy.org/download/).
When ZAP is successfully installed, launch the ZAP Proxy application.
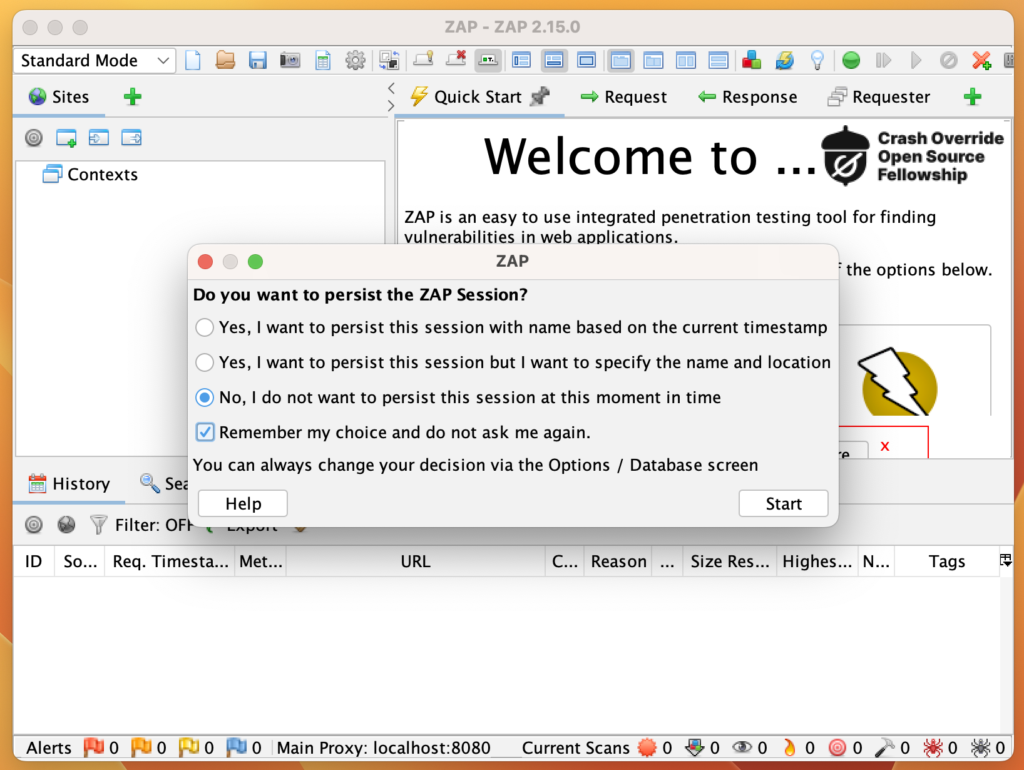
At startup, it will ask if you want to persist the ZAP session. Select "No" and click start.

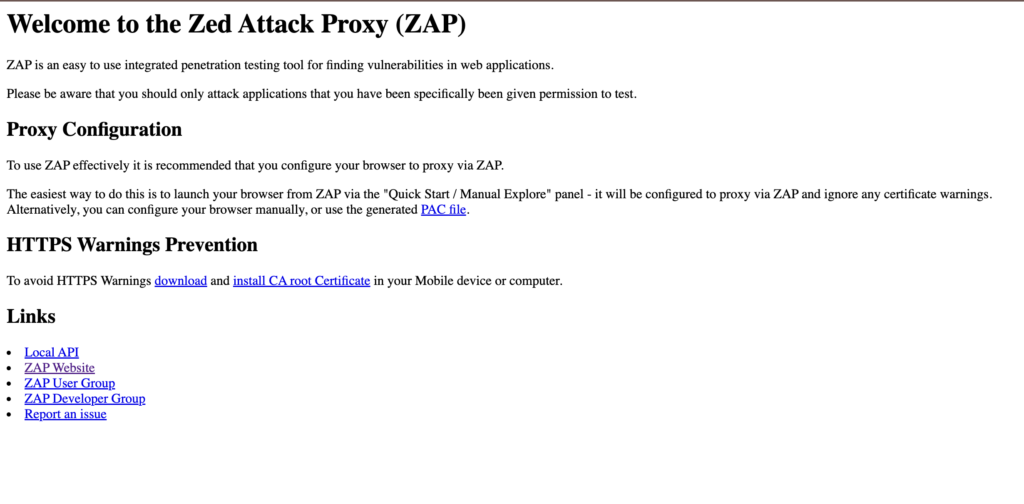
To make sure the proxy is started and running, open localhost:8080 in your choice of browser. It should display a welcome page like below.

ZAP is now up and running, scanning all traffic passing through the proxy.
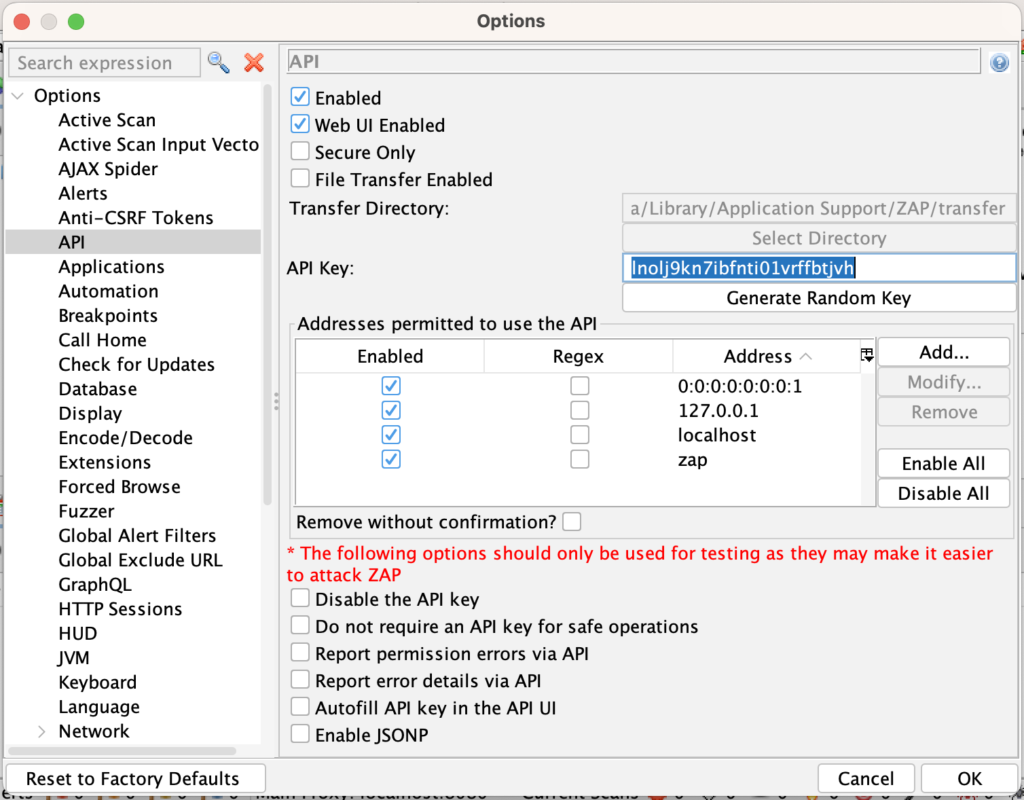
Navigate to Tools > Option > API, and save the Zap API key. It will be used later in the implementation.


Now that its done, lets move on to selenium side of implementation.
2. Adding ZAP to POM.xml (Maven Project):
Assuming you're using Maven for project management, add the ZAP Client library to your pom.xml file. Here's the example dependency
XML
<!-- https://mvnrepository.com/artifact/org.zaproxy/zap-clientapi -->
        <dependency>
            <groupId>org.zaproxy</groupId>
            <artifactId>zap-clientapi</artifactId>
            <version>1.14.0</version>
        </dependency>
Note: ZAP client libraries are available in all popular programming languages. You can find more information here.
3. Redirecting Selenium Traffic through ZAP Proxy:
Now you need to configure Selenium WebDriver to route traffic through the ZAP Proxy.
Let's create a basic test that interacts with a web application and redirect its traffic through ZAP proxy. For this we need to follow below steps before driver intialization:
Create an instance of
org.openqa.selenium.ProxySet http and ssl proxy to ZAP proxy(
localhost:8080)Update ChromeOptions to use this proxy instance.
Below is the code snippet to setup proxy in selenium and initialise WebDriver with it.
Java
        // Set WebDriver proxy
        String proxyUrl = "localhost:8080";
            Proxy proxy = new Proxy();
            proxy.setHttpProxy(proxyUrl);
            proxy.setSslProxy(proxyUrl);

        //Configure ChromeOption
        ChromeOptions co = new ChromeOptions();
            co.setAcceptInsecureCerts(true);
            co.setProxy(proxy);


        // Initialize WebDriver (replace with your desired browser with ChromeOptions)
        WebDriver driver = new ChromeDriver(co);
With the proxy set up, all Selenium traffic will be redirected through ZAP.
4. Generating a ZAP Report:
ZAP offers various options for generating reports on identified vulnerabilities. You can use the ZAP GUI or its API to access detailed reports. Lets use Zap API client for report generation, so it can be done programatically in tear down.
Below is the code snippet that will create api client for zap api and generate the report.
Java
        // Iniotialise Zap API client
            ClientApi clientApi = new ClientApi("localhost","8080","your-api-key");

            // generate Zap report from scanned traffic
            if(clientApi != null) {
            ApiResponse res = null;
            try {
                res = clientApi.reports.generate("Zap Security Report", "traditional-html",
                        null, "Demo zap integration with selenium", null,
                        null,null, null, null, "zap-security-report.html",
                        null,System.getProperty("user.dir"), null);
                        System.out.println("Zap report generated successfully at " + res.toString());
            } catch (ClientApiException e) {
                throw new RuntimeException(e);
            }
        }
generate function take numerous parameters but you only need to provide a few required one, rest you can leave null.
5. Lets Try It Out With A Demo Run:
Run your Selenium test with the integrated ZAP scan. The path to the generated report will be displayed in your console if you're using the code snippet provided above
Bash
zap report generated successfully at /Users/default/Project/SeleniumJava_BoilerPlate/zap-security-report.html
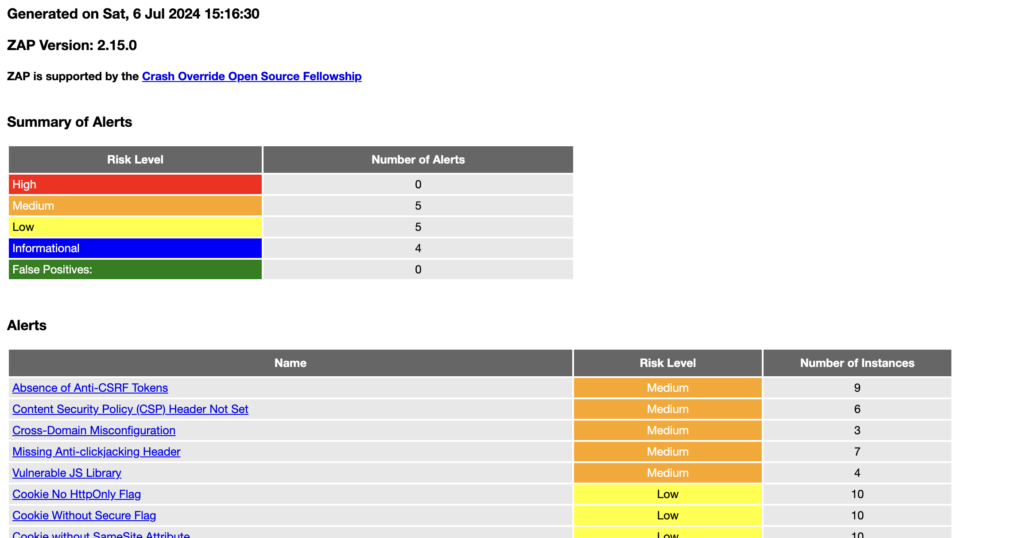
Open this path in any browser of your choice and you will be able to see a basic HTML security report.

This is a basic example. You can customize it further by integrating ZAP's API calls within your Selenium scripts to trigger specific scans or manipulate ZAP settings dynamically.
For a reference implementation (proof of concept - POC), you can visit this GitHub repository: here
If you find it useful, then you can follow binmile on github and give this repo a star.
Conclusion
By integrating OWASP ZAP with Selenium WebDriver, you can significantly enhance your web application security testing practices. This powerful combination allows for automated vulnerability detection, early identification of security flaws, and a more secure application throughout the development process. Remember, security is an ongoing journey. Continuously refine your testing practices.
To learn more interesting thing related to security please follow staleelement.co